There’s something about a well-designed email signature that makes the 1000 emails that we all send in a week a little more appealing. Yet, when trying to embed a signature into my Apple Mail, I kept getting stuck. The pictures wouldn’t load. The logo would change size after an email was sent. The fonts didn’t pull through.
There was one issue after another. I was so pleased to find the free Hubspot email generator which I thought was the answer to all of style, substance and consistency woes.
Except for that I couldn’t get it to appear in my email signature the same way I had designed it.
I would go through the process, follow all instructions, copy and paste the signature into Apple Mail, only to lose the images completely. No matter what I tried, they wouldn’t come through with an old fashioned copy and paste.
So, this leads me to write a post that I have no business writing…
– a techy post. I’m not just not that kind of woman. I like it when it works and restart when it doesn’t.
But I have lost too many hours, watched too many YouTube videos, pulled out too much of my hair, to have all of that go to waste. So in the name of my thinning hair, I give you the step-by-step method to getting a great signature into your Apple Mail.
Watch the video or follow the step-by-step instructions beneath it. Let me know if you have any questions!
Part 1: Creating your signature
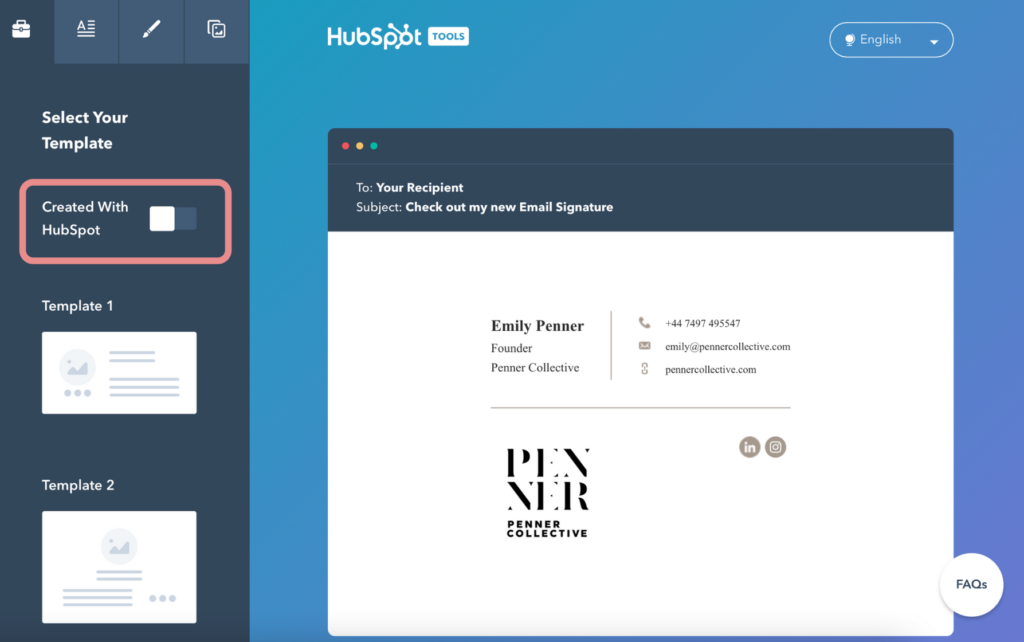
I recommend using Hubspot’s free signature generator. Through this tool, you can add all of the information you would like, customise it with your logo, image, brand colours, and select from 6 templates.
A few tips:
- Make sure the Hubspot call-to-action is removed by turning off the ‘Created with Hubspot’ option. You can find it at the top of the templates page (as seen above).
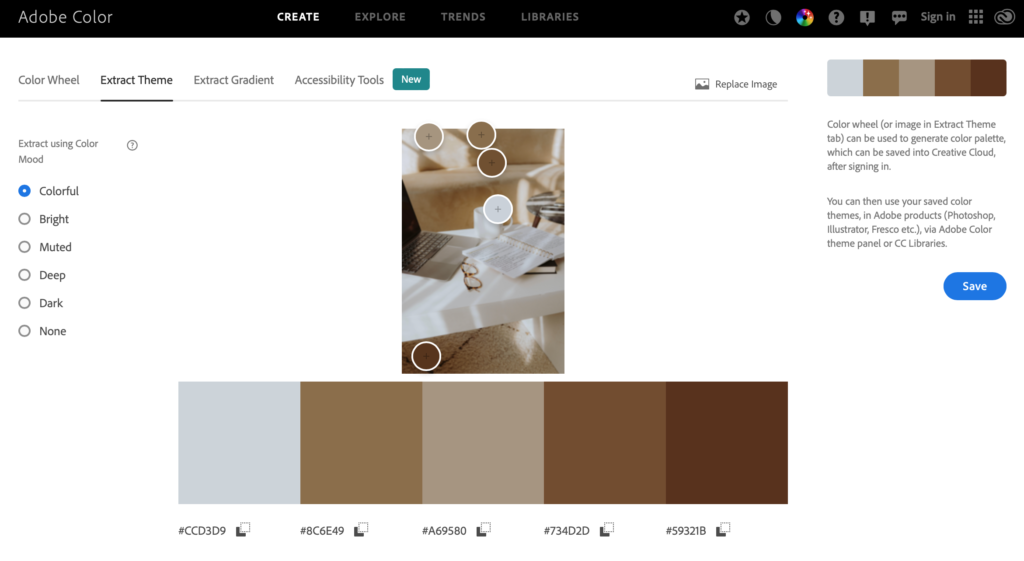
- If you don’t know the codes for your brand colours, use a free tool like Adobe Color to upload an image that ‘feels’ like you/your brand. It will automatically identify the HEX codes to use.
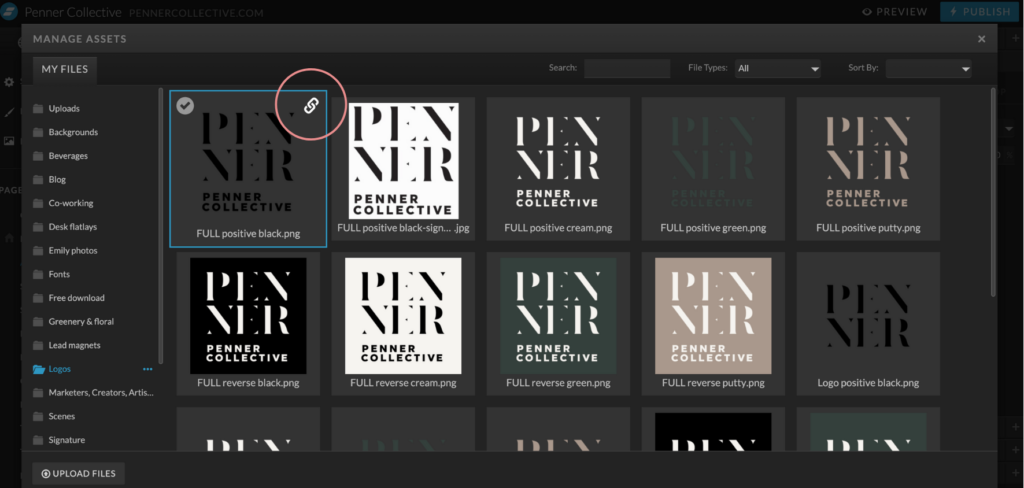
If you’d like to include a logo and/or a picture, you need to host them online. I hosted it from my site (my site runs on Showit and within the media library, each image has a link icon in the right hand corner. Click that and you have the URL for your image or logo).
Once you’re pleased with your signature, select the template that you like and click ‘Create Signature’.
Part 2: Embedding into Apple Mail
This is where it started to go awry. A copy and paste from Hubspot to my Signature window wouldn’t do it – I would lose all formatting and all images (even when viewed within an email).
Enter, the techy HTML way. We all know we should learn how to code. Here’s your VERY FIRST STEP.
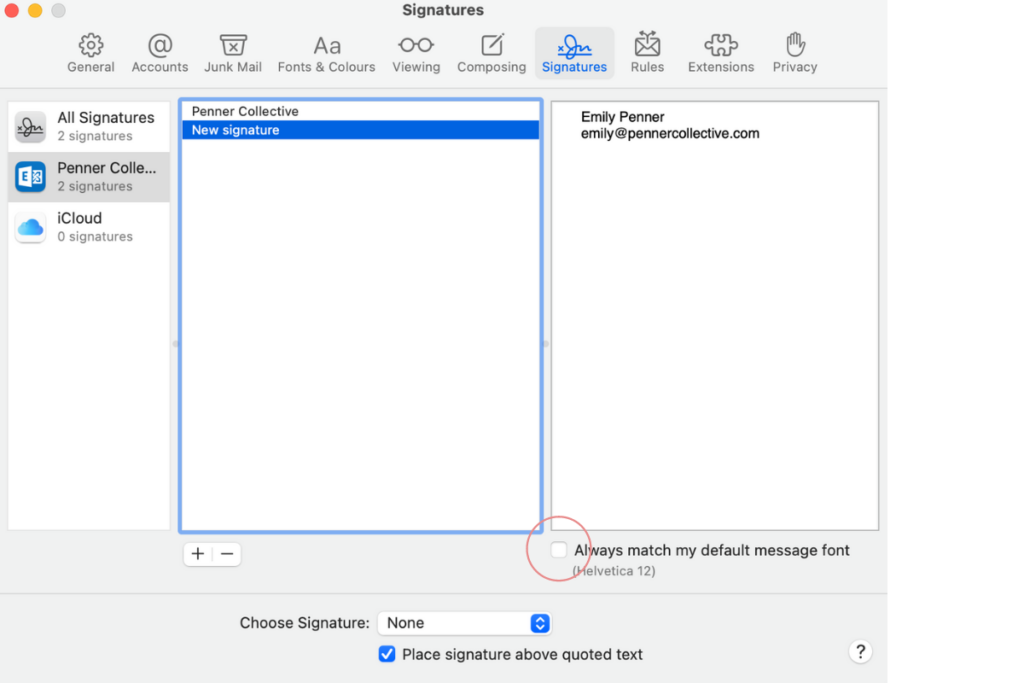
- In Mail, open up your signatures to begin a new signature.
- Make sure it’s associated with your correct email (not just in ‘All signatures’)
- Untick ‘Always match my default font’
- Close Mail completely. (Make sure there isn’t any dot under the icon in your bottom bar!)
- Ensure you’re not in any other programme. You want to see a top toolbar like shown below – click on a blank space on your desktop to get there.

4. Click on ‘Go’, then hold your ‘Alt’ key down to reveal ‘Library’ (this is when you start to feel techy).
5. Find the ‘Mail’ folder, then a folder titled ‘V#’. Mine was titled ‘V9’ but it could be any number after the V. From there, find ‘Mail Data’ and then ‘Signatures’. To summarise: Mail > V# > Mail Data > Signatures
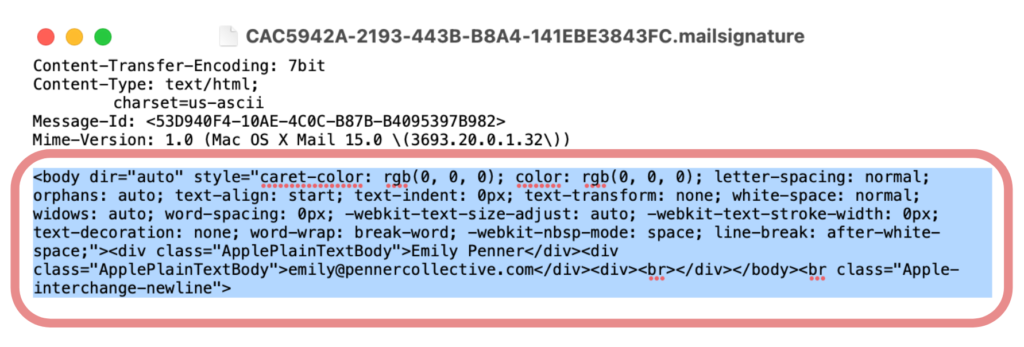
6. You’ll then see some files that end with ‘.mailsignatures’. Find the signature that you just created, best identified by the time at which you created it (i.e., a minute ago!). Right click to open it with ‘TextEdit’ which should be the default option.
7. Find the line that starts with ‘Mime-Version’ and delete everything beneath it.
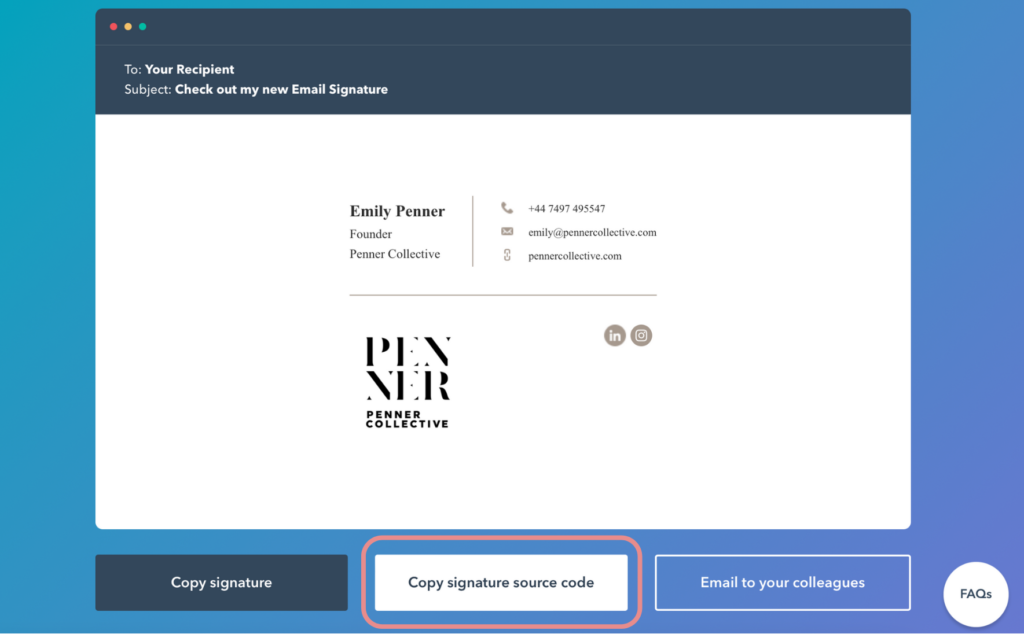
8. Go back to Hubspot – you should be on the page (after having selected ‘Create Signature’) where you have several options of how to transfer your signature to your email. Select ‘Copy signature source code’.
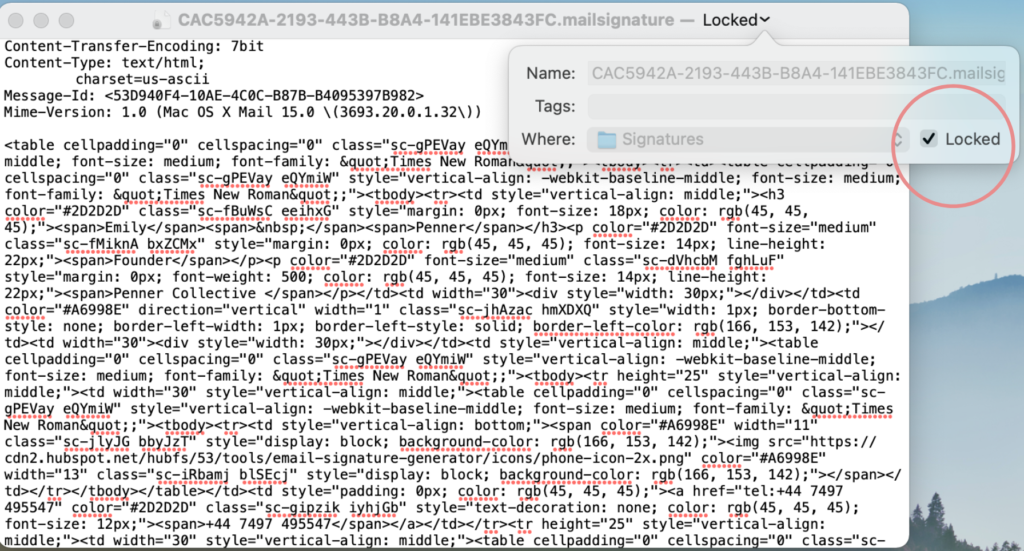
9. Get back to TextEdit and paste the content under the aforementioned ‘mime’ line. It will be a lot of text. Don’t worry about it.
Next comes an important step – don’t skip it! You have to lock this file – do this by clicking on the arrow in the top bar where you can rename/save/etc. – tick the box beside ‘Locked’.
10. Now open Mail, start a new email (select the signature if it wasn’t already the default), and revel in your success.
Let me know if you have any questions!


Thank you so much for your help with the HubSpot email signature problems with Mac mail.
I have managed to get the graphics now and the instagram and the facebook logo but still my logo appears as a white box! is there anything else you think I should try please?
Simon.
Thank you so much for your help with Hubspots’ email signature on Mac mail. I now have the graphics and fonts correctly but still my business logo is just a white box! do you have any other ideas why this might be please? That you again, Simon
I have the same problem, the logo and my image refuse to show as anything but a box with a question mark. If i send from apple mail (gmail account) it shows from gmail in chrome. If I send to from Chrome in Gmail tab to apple mail it also wontshow. The problem is definitely Apple Mail
Didn’t work … 🙁
your instructions were wonderful but the photos are not coming through into the signature. Can you help please
I was having trouble figuring this out on my own and came across your article. This worked great, thank you!
Thanks – this worked brilliantly for me. I don’t understand why Hubspot couldn’t include these instructions!